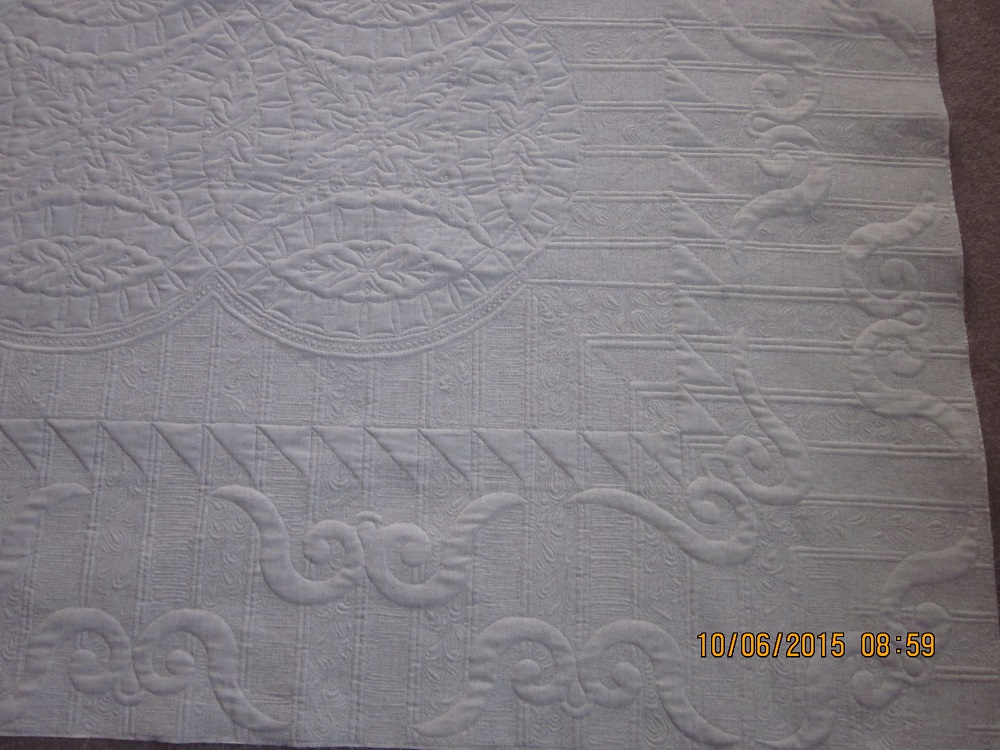
Mary Lou, The quilting is perfect as always. Thank you.
You can make a difference by properly preparing your quilt for the longarm.
There are several aspects of the piecing process that will influence the final
quality of the quilt once it is quilted.
1. Seams - Each seam should hold together securely. If a seam
pulls apart easily it could come apart upon loading onto the longarm table.
This could lead to a hole in the quilt initially. It could also be caught by
the foot of the longarm and tear the quilt. I am happy to say this has not
happened to any of the quilts I have quilted. I have seen seams pull apart but
have been able to avoid damage.
2. Seams again - Lumps can cause variations in the quilting pattern and
even tears. Although this does not happen often, if a needle breaks while
going over a seam it can cause damage to the quilt. The needle can directly
tear the quilt or become lodged in the quilt and base plate of the longarm.
Freeing the needle may be difficult and result in quilt damage. I have not had
this happen either, but ask that you are aware of the possibility and together
we can avoid this pitfall.
3.Fabric grain line - Fabric stretches the most at a 45 degree angle to the
salvage. It stretches the least along the grain line or in other words the
same direction as the selvage. Try to always cut your pieces so that the
longest sides and or outer edges of a block are parallel to the grain line.
4. Piecing - Puckers and pleats
can result in poor top construction. None of us are perfect and neither are
our blocks. So with that in mind, there are three ways that we can cause
irregularities in our piecing. Cutting, sewing and ironing each contribute to
irregularities. As you improve on each of those skills, so will the quality of
your quilt top. The better the quality of the quilt top brought to the longarm
quilter, the better the end result.
5. Borders - Remember to cut borders either along the grain line or cross
grain. Cross grain is parallel to the edge that was cut separating it from the
bolt when you purchased the fabric. Don't simply cut a strip longer than the
edge of your quilt, sew it on and trim off whatever is left over. This will
cause distortion. The presser foot on your machine pushes against the top
fabric and stretches it as you sew unless you are using a walking foot. That
means the edge is now longer that it started out. Do measure across the center
of your quilt in three places from edge to edge. Use the average of those
three measurements to cut a strip for your border. Pin the strip at the start,
end and several intermediate places before sewing it on. This will help to
avoid wavy borders which may not be noticeable until it is mounted on the
quilting frame. It then becomes a balancing act for me to try and work in the
extra fabric and still keep the quilt straight and square.
6. Thread tails - Take the time to cut your threads. If it is not done it will
take me more time doing it for you.
7. Pressing - The quilt top needs to be smooth and flat before quilting can
start. This is another area that you can save money by doing this yourself.
8. Batting choice - I carry a range of different batting from white, natural
and black in 80/20. It is often cheaper to buy the batting directly from me.
If you want to use your own batting, it needs to be of good quality.
9. Backing - Backing just like the top should be seamed well and pressed
flat. It also needs to be a minimum of 6 inches wider and longer than the top.
The edges need to be square and straight just like the top.
10. Thread choice - I use Superior thread because of its high quality. The
thread color can help to bring out or reduce the overall color impression of
the quilt. Be prepared to offer your ideas and thoughts about what you
envision.
11. Quilting design - Check out the patterns I have as well as the websites
I can purchase new patterns from. Having a price range and general thoughts on
design help me decide how to do the quilting, but it is also ok to let me decide if
you are not sure.
First, most quilts look great with an edge to edge (E2E) or pantograph,
meaning the same pattern and thread run across the entire quilt. There are
a nearly unlimited number of patterns to choose from. I have many and most
are shown on my website. There are also websites listed that you can choose
patterns from which I will purchase if you like and split the cost with
you. Most are about $15. The cost is 2 cents per square inch plus a supply
fee of between $5 and $15.
Making the decision to have your quilt custom quilted usually depends on
how much you want to spend. To be fair to you and to me, I charge by the
time it takes to do the actual quilting. I do not charge for all the time
I spend thinking about it, talking to you or actually making a plan. I often
spend many, many hours contemplating, looking at your quilt, and searching
online for the best plan. It also takes time figuring out if and how the plan
can be implemented in a reasonable amount of time. All of the factors
involved make each quilt unique and make it impossible to know how long it
will take or therefore how much it will cost. I like to know how much you are
comfortable spending so the choices I make will hopefully lead to the cost
falling with in your budget. I do, however, want to be perfectly honest that
I want so desperately to make your quilt look great that I can easily spend
more time than I expect. Custom quilting is mentally and physically taxing.
I cannot work nearly as long each day custom quilting as I can doing an E2E
so I actually lose money every time I do custom quilting. The more intricate
the quilting, the more I lose even though you are paying much more. OK, how
much is it? Well 2-8 times as much as an E2E. You must be prepared to pay a
lot and we will both hope for the total to be less.
There are two basic ways to accomplish custom quilting: Hand guided or using
the computer. Hand guided is generally faster but less accurate. Curving
patterns that are flexible can easily be used to fit oddly shaped areas and
are more forgiving. Straight lines take much more time and are more difficult
to do well. Using the computer takes more time because the area must be marked
with the computer and the fabric can move as it is stitched, making the marks
slightly inaccurate unless the quilt has been closely basted or stitched in
the ditch which also takes more time.
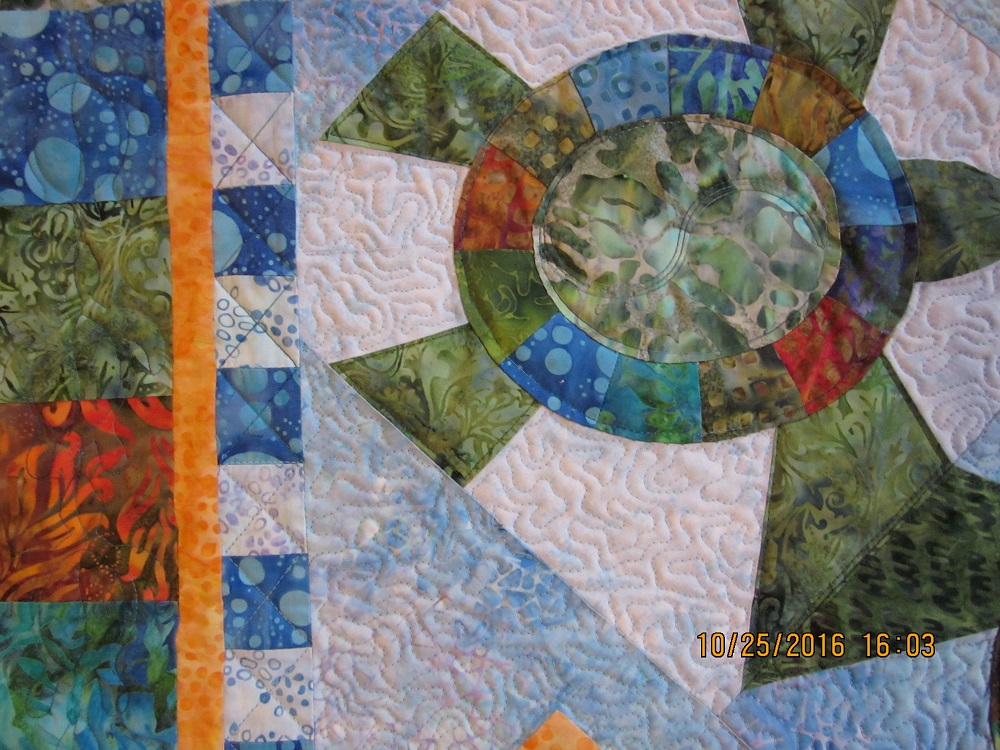
The first level of custom quilting is doing an E2E but going around a specific
area. One or a few applique or embroidered areas which shouldn't be quilted
would be an example of this. This will add to the time and cost depending on
how many areas there are and how intricate each area is. Quilting a border
separately from the center of the quilt is also relatively simple. The center
pattern has to have a straight defined border without overlap right to left or
up and down. This allows the pattern to fit the edges of the center without
leaving holes in the quilting.
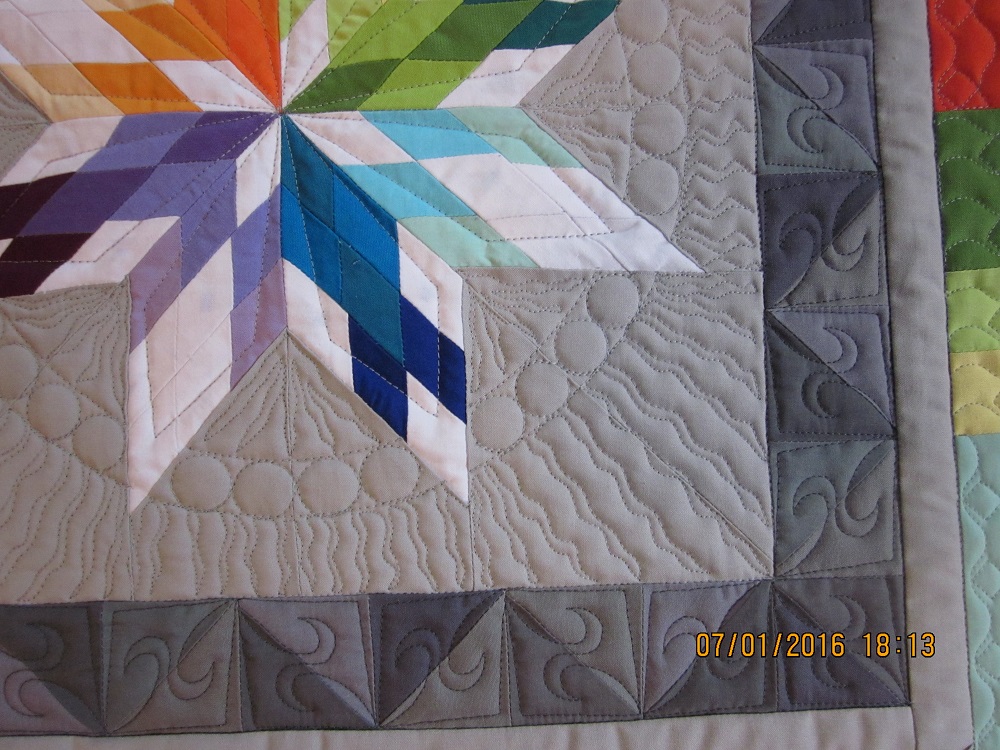
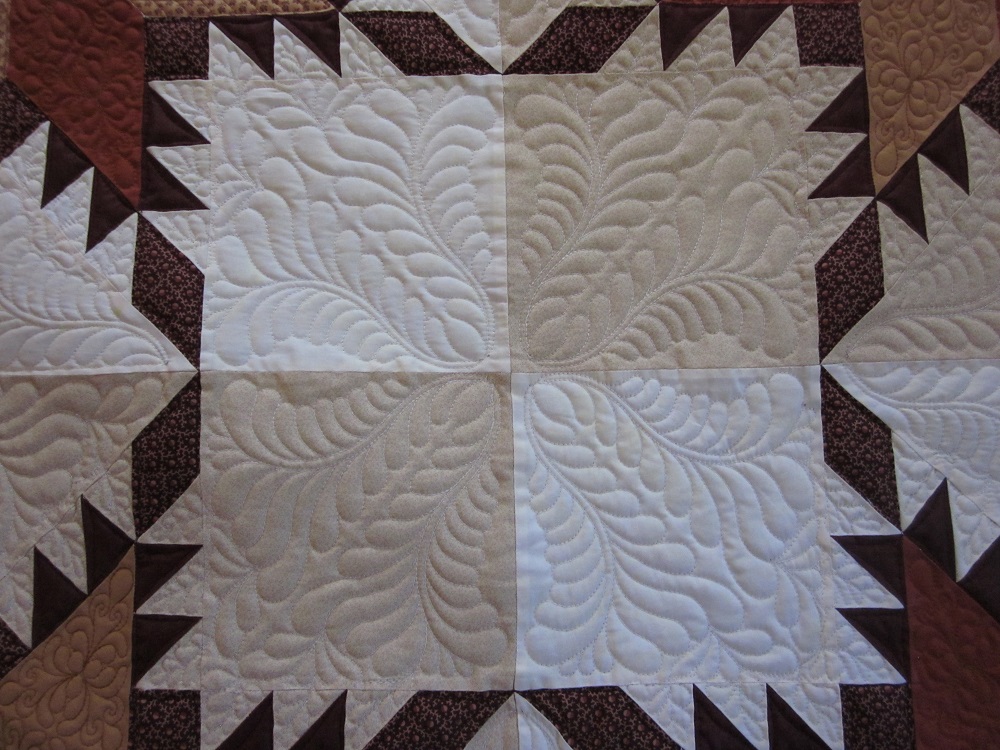
The next step up is placing a pattern in each block, border, sashing, and
corner stones, etc. The cost will go up mostly depending on how many of each
there is. Fewer larger blocks takes less time. Odd shapes, curves, intricate
applique and embroidery all increase time and cost.
You can either tell me how you want your quilt quilted or leave it up to me
to decide. With that and your approximate budget, we can make your quilt shine.